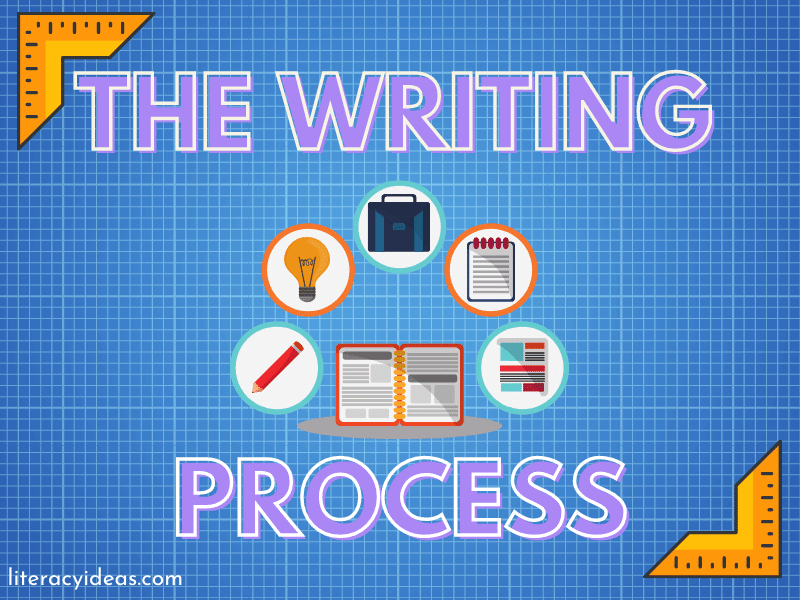
The Writing Process Explained
Understanding the writing process provides a student with a straightforward step-by-step procedure that they can follow. It means they can replicate the process no matter what type of nonfiction text they are asked to produce.
In this article, we’ll look at the 5 step writing process that guides students from prewriting to submitting their polished work quickly and easily.
While explaining each stage of the process in detail, we’ll suggest some activities you can use with your students to help them successfully complete each stage.
THE STAGES OF THE WRITING PROCESS
The five steps of the writing process are made up of the following stages:
- Pre-writing: In this stage, students brainstorm ideas, plan content, and gather the necessary information to ensure their thinking is organized logically.
- Drafting: Students construct ideas in basic sentences and paragraphs without getting caught up with perfection. It is in this stage that the pre-writing process becomes refined and shaped.
- Revising: This is where students revise their draft and make changes to improve the content, organization, and overall structure. Any obvious spelling and grammatical errors might also be improved at this stage.
- Editing: It is in this stage where students make the shift from improving the structure of their writing to focusing on enhancing the written quality of sentences and paragraphs through improving word choice, punctuation, and capitalization, and all spelling and grammatical errors are corrected. Ensure students know this is their final opportunity to alter their writing, which will play a significant role in the assessment process.
- Submitting / Publishing: Students can share their writing with the world, their teachers, friends, and family through various platforms and tools.
Be aware that this list is not a definitive linear process, and it may be advisable to revisit some of these steps in some cases as students learn the craft of writing over time.


STAGE ONE: THE WRITING PROCESS
PREWRITING
GET READY TO WRITE
The prewriting stage covers anything the student does before they begin to draft their text. It includes many things such as thinking, brainstorming, discussing ideas with others, sketching outlines, gathering information through interviewing people, assessing data, and researching in the library and online.
The intention at the prewriting stage is to collect the raw material that will fuel the writing process. This involves the student doing 3 things:
- Understanding the conventions of the text type
- Gathering up facts, opinions, ideas, data, vocabulary, etc through research and discussion
- Organizing resources and planning out the writing process.
By the time students have finished the pre-writing stage, they will want to have completed at least one of these tasks depending upon the text type they are writing.
- Choose a topic: Ensure your students select a topic that is interesting and relevant to them.
- Brainstorm ideas: Once they have a topic, brainstorm and write their ideas down, considering what they already know about the topic and what they need to research further. Students might want to use brainstorming techniques such as mind mapping, free writing, or listing.
- Research: This one is crucial for informational and nonfiction writing. Students may need to research to gather more information and use reliable sources such as books, academic journals, and credible websites.
- Organize your ideas: This can be challenging for younger students, but once they have a collection of ideas and information, help them to organize them logically by creating an outline, using headings and subheadings, or grouping related ideas.
- Develop a thesis statement: This one is only for an academic research paper and should clearly state your paper’s main idea or argument. It should be specific and debatable.
Before beginning the research and planning parts of the process, the student must take some time to consider the demands of the text type or genre they are asked to write, as this will influence how they research and plan.
PREWRITING TEACHING ACTIVITY
As with any stage in the writing process, students will benefit immensely from seeing the teacher modelling activities to support that stage.
In this activity, you can model your approach to the prewriting stage for students to emulate. Eventually, they will develop their own specific approach, but for now, having a clear model to follow will serve them well.
Starting with an essay title written in the center of the whiteboard, brainstorm ideas as a class and write these ideas branching from the title to create a mind map.
From there, you can help students identify areas for further research and help them to create graphic organizers to record their ideas.
Explain to the students that while idea generation is an integral part of the prewriting stage, generating ideas is also important throughout all the other stages of the writing process.

STAGE TWO: THE WRITING PROCESS
DRAFTING
PUT YOUR IDEAS ON PAPER
Drafting is when the student begins to corral the unruly fruits of the prewriting stage into orderly sentences and paragraphs.
When their writing is based on solid research and planning, it will be much easier for the student to manage. A poorly executed first stage can see pencils stuck at the starting line and persistent complaints of ‘writer’s block’ from the students.
However, do encourage your students not to get too attached to any ideas they may have generated in Stage 1. Writing is thinking too and your students need to leave room for their creativity to express itself at all stages of the process.
The most important thing about this stage is for the student to keep moving. A text is written word-by-word, much as a bricklayer builds a wall by laying brick upon brick.
Instill in your students that they shouldn’t get too hung up on stuff like spelling and grammar in these early stages.
Likewise, they shouldn’t overthink things. The trick here is to get the ideas down fast – everything else can be polished up later.
DRAFTING TEACHING ACTIVITY
As mentioned in the previous activity, writing is a very complex process and modeling goes a long way to helping ensure our students’ success.
Sometimes our students do an excellent job in the prewriting stage with understanding the text purpose, the research, and the planning, only to fall flat when it comes to beginning to write an actual draft.
Often, students require some clear modeling by the teacher to help them transition effectively from Stage 1 to Stage 2.
One way to do this for your class is to take the sketches, notes, and ideas one of the students has produced in Stage 1, and use them to model writing a draft. This can be done as a whole class shared writing activity.
Doing this will help your students understand how to take their raw material and connect their ideas and transition between them in the form of an essay.

STAGE THREE: THE WRITING PROCESS
REVISING
POLISH YOUR THINKING
In Stage two, the emphasis for the student was on getting their ideas out quickly and onto the paper.
Stage three focuses on refining the work completed earlier with the reader now firmly at the forefront of the writer’s mind.
To revise, the student needs to cast a critical eye over their work and ask themselves questions like:
- Would a reader be able to read this text and make sense of it all?
- Have I included enough detail to help the reader clearly visualize my subject?
- Is my writing concise and as accurate as possible?
- Are my ideas supported by evidence and written in a convincing manner?
- Have I written in a way that is suitable for my intended audience?
- Is it written in an interesting way?
- Are the connections between ideas made explicit?
- Does it fulfill the criteria of the specific text type?
- Is the text organized effectively?
The questions above represent the primary areas students should focus on at this stage of the writing process.
Students shouldn’t slip over into editing/proofreading mode just yet. Let the more minor, surface-level imperfections wait until the next stage.
REVISING TEACHING ACTIVITY
When developing their understanding of the revising process, it can be extremely helpful for students to have a revision checklist to work from.
It’s also a great idea to develop the revision checklist as part of a discussion activity around what this stage of the writing process is about.
Things to look out for when revising include content, voice, general fluency, transitions, use of evidence, clarity and coherence, and word choice.
It can also be a good idea for students to partner up into pairs and go through each other’s work together. As the old saying goes, ‘two heads are better than one’ and, in the early days at least, this will help students to use each other as sounding boards when making decisions on the revision process.

STAGE FOUR: THE WRITING PROCESS
EDITING
CHECK YOUR WRITING

Editing is not a different thing than writing, it is itself an essential part of the writing process.
During the editing stage, students should keep an eagle eye out for conventional mistakes such as double spacing between words, spelling errors, and grammar and punctuation mistakes.
While there are inbuilt spelling and grammar checkers in many of the most popular word processing programs, it is worth creating opportunities for students to practice their editing skills without the crutch of such technology on occasion.
Students should also take a last look over the conventions of the text type they are writing.
Are the relevant headings and subheadings in place? Are bold words and captions in the right place? Is there consistency across the fonts used? Have diagrams been labelled correctly?
Editing can be a demanding process. There are lots of moving parts in it, and it often helps students to break things down into smaller, more manageable chunks.
Focused edits allow the student the opportunity to have a separate read-through to edit for each of the different editing points.
For example, the first run-through might look at structural elements such as the specific structural conventions of the text type concerned. Subsequent run-throughs could look at capitalization, grammar, punctuation, the indenting of paragraphs, formatting, spelling, etc.
Sometimes students find it hard to gain the necessary perspective to edit their work well. They’re simply too close to it, and it can be difficult for them to see what is on the paper rather than see what they think they have put down.
One good way to help students gain the necessary distance from their work is to have the student read their work out loud as they edit it.
Reading their work out loud forces the student to slow down the reading process and it forces them to pay more attention to what’s written on the page, rather than what’s in their head.
It’s always helpful to get feedback from someone else. If time permits, get your students to ask a friend or other teacher to review their work and provide feedback. They may catch errors or offer suggestions your students haven’t considered.
All this gives the student a little more valuable time to catch the mistakes and other flaws in their work.
WRITING CHECKLISTS FOR ALL TEXT TYPES

⭐⭐⭐⭐⭐ (92 Reviews)
EDITING TEACHING ACTIVITY
Students must have a firm understanding of what they’re looking to correct in the editing process to edit effectively. One effective way to ensure this understanding is to have them compile an Editing Checklist for use when they’re engaged in the editing process.
The Editing Checklist can be compiled as a whole-class shared writing activity. The teacher can scribe the students’ suggestions for inclusion on the checklist onto the whiteboard. This can then be typed up and printed off by all the students.
A fun and productive use of the checklist is for the students to use it in ‘editing pairs’.
Each student is assigned an editing partner during the editing stage of a writing task. Each student goes through their partner’s, work using the checklist as a guide, and then gives feedback to the other partner. The partner, in turn, uses the feedback in the final edit of their work.

STAGE FIVE: THE WRITING PROCESS
SUBMITTING
HAND IN YOUR WRITING
Now, it’s time for our students’ final part of the writing process. This is when they hand in their work to their teacher – aka you!
At this point, students should have one final reread of their work to ensure it’s as close to their intentions as possible, and then, finally, they can submit their work.
Giving the work over to an audience, whether that audience comes in the form of a teacher marking an assignment, publishing work in print or online, or making a presentation to classmates, can be daunting. It’s important that students learn to see the act of submitting their work as a positive thing.
Though this is the final stage of the writing process, students should be helped to see it for all it is. It is another step in the journey towards becoming a highly-skilled writer. It’s a further opportunity for the student to get valuable feedback on where their skills are currently at and a signpost to help them to improve their work in the future.
When the feedback comes, whether that’s in the form of teacher comments, grades, reviews, etc it should be absorbed by the student as a positive part of this improvement process.
Submitting TEACHING Activity
This activity is as much for the teacher as it is for the student.
Sometimes, our students think of feedback as a passive thing. The teacher makes some comments either in writing or orally and the student listens and carries on largely as before. We must help our students to recognize feedback as an opportunity for growth.
Feedback should be seen as a dialogue that helps our students to take control of their own learning.
For this to be the case, students need to engage with the feedback they’ve been given, to take constructive criticisms on board, and to use these as a springboard to take action.
One way to help students to do this lies in the way we format our feedback to our students. A useful format in this vein is the simple 2 Stars and a Wish. This format involves giving feedback that notes two specific areas of the work that the student did well and one that needs improvement. This area for improvement will provide a clear focus for the student to improve in the future. This principle of constructive criticism should inform all feedback.
It’s also helpful to encourage students to process detailed feedback by noting specific areas to focus on. This will give them some concrete targets to improve their writing in the future.
VIDEO TUTORIAL ON THE WRITING PROCESS

And there we have it. A straightforward and replicable process for our students to follow to complete almost any writing task.
But, of course, the real writing process is the ongoing one whereby our students improve their writing skills sentence-by-sentence and word-by-word over a whole lifetime.